In grade school, we all learn that March is “in like a lion, out like a lamb.” But on our farm, March is for baby chicks. Despite the still very chilly temperatures, March is the month we pick up our first batch of chicks for the year. On March 10, we will pick up 300 tiny, peeping puffballs that will quickly grow up to be 3-4 lb chickens ready for processing and your dinner table. It will be the first of 13 such pickups over the spring and summer, meaning we will raise close to 4,000 meat chickens this year. Our farm is specially licensed to grow and butcher as many as 20,000 chickens per year.
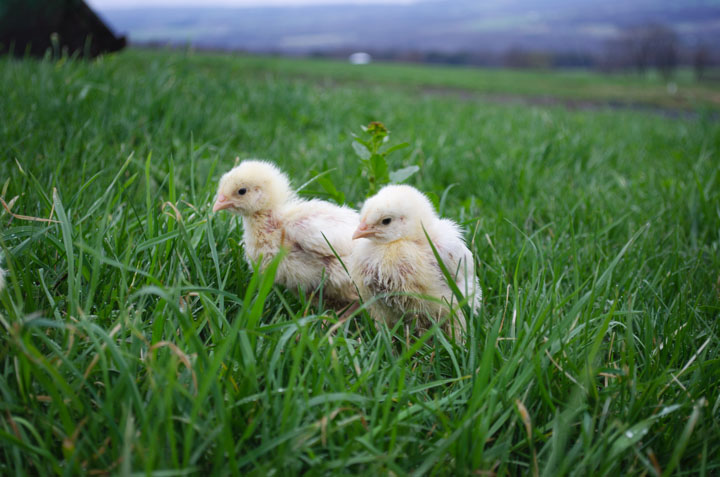
Photo credit: Adrian Walsh
Chickens, whether for eggs or for meat, are fairly easy to grow and I would highly encourage anyone interested to try it for themselves. There are entire websites, magazines, and easy-to-follow how-to books available for the small-scale or home grower. And fortunately, the start-up costs and other inputs are minimal. Imagine having your very own eggs for breakfast every morning or the satisfaction of seeing your children or grandchildren enjoy the simple pleasure of gathering eggs! It is important to recognize, however, that chickens are a commitment. Make sure that you are ready to give them a safe home and a happy life!
There are a few things you need to get started. For their first few weeks of life, baby chicks are extremely vulnerable. Newly hatched chicks must be kept in a “brooder,” where the temperature is kept at a constant 90-95° F. They should also be kept dry and comfortable, which means changing the bedding (or adding new) regularly and keeping them from getting crowded as they grow. The brooder should also be free from drafts, yet well-ventilated and keep the babies safe from predators, such as cats, weasels or rats.
Happy chicks are healthy chicks. Stressors such as chilling, overheating and dehydration can prevent them from developing a healthy immune system. But how can you tell if the chicks are “happy,” you ask? The key is careful observation. Unhappy chicks will tell you—in their own subtle ways—that something is not quite right. By observing your chicks’ behavior and asking yourself a few simple questions, you can address any issues before they become a real problem:
-
Are they spread out in the brooder, or piling up in bunches? If they are piling up, they are very unhappy. Check temperature, add dry bedding, and make sure there are no drafts or anything else upsetting them.
-
Do they all gather directly underneath the heat lamp or are they avoiding it altogether? It is either too hot or too cold. Adjust the height of your heat lamp(s) accordingly.
-
Are they panting? They are too hot and possibly overcrowded.
-
Are they peeping softly, very loudly, or not at all? You want soft peeping. Very loud peeping or even silence indicates fear and unhappiness. Check to make sure everyone has access to fresh water and is eating.
-
Are they damp? Add dry bedding and assess the source of the dampness. Check if their waterer is leaking. Had they had run out of water and then rushed the water bowl when you refilled it? Be sure they have a constant source of clean water going forward. If they are damp from being overcrowded and have wet bedding, give them more room and again, more bedding.
Before you bring your chicks home, you will have to build (or buy) yourself a proper brooder. We have experimented with many different types of brooders over the years. In the beginning, we started with a large tub, complete with heat lamps hung from above. The chicks quickly outgrew their home, however, and the contained odor was not pleasant. Our next attempt at a homemade brooder was a floor-less wooden box with a lid that we regularly moved around our grassy yard. This design was great in that we saved money not having to purchase shavings for bedding, but we quickly learned our yard was not perfectly level…anywhere(!)…and chicks were able to squirt out through the gaps. We also tried a brooder made from hay bales, kept in the barn. It was nice in that we were able to quickly and easily expand the brooder as needed, but our clever barn cats learned how to squeeze through the gaps and feast on the baby chicks. We next tried what is called an “Ohio brooder”, an open-sided box on short stilts that sits low to the floor with heat lamps affixed to the underside. The design sounded ideal, because with the open sides, the chicks can escape the heat as needed, with food and water placed outside of the dry bedding, helping it stay clean. What we didn’t anticipate, however, was our inability to observe the chicks’ behavior under the box.
After much trial and error, we eventually found a nice little system that works for us. We finally settled on two brooding “rooms”, each approximately 10’x10’, in our machine shed. Each room has a dedicated area for very young chicks with a hinged “lid” from which the heat lamps are hung. (The lid is hinged to facilitate gathering the chicks when it is time to put them out on pasture and to make cleaning of the brooder much easier.) We use repurposed old windows as the fourth wall of the baby chicks’ brooding area, which allow us to quickly and easily gain access to their food and water and at a glance, observe their behavior. As the chicks outgrow their space and need less heat, we begin to remove the repurposed windows, allowing them access to the rest of the room.
Our meat chicks will leave their brooder and be put out on pasture when they are about three weeks old, assuming the weather has sufficiently warmed up. As with brooders, there are many options for housing grown birds. Each type will depend on what types of chickens you own, what predator problems you may encounter, and how much work you ultimately want to do. That, however, is a story for another day!